
If you’re exchanging and creating PDFs with your peers or coworkers, chances are high you’ll need do some notation. Annotating PDFs refers to adding notes and important remarks to the PDF for other readers. It’s common during the development process, and may be required for you to sign or fill out a PDF as well.
Don’t worry if you don’t have much experience annotating like this on a Mac. We’ll go over the easiest ways to annotate a PDF on MacOS, and what tools are most worth using for both Preview and Acrobat DC.
Annotating with Adobe Acrobat DC
Another very popular option for managing PDFs in MacOS is Adobe’s Acrobat DC, which may be particularly common in professional environments. If this is the tool you use to manage PDFs, it also has ways to annotate. This is particularly effective for more in-depth notation, and working in groups to collaboratively develop a PDF. Here’s what you do.
Note: These tools may not work if all comments have been specifically disabled for the PDF. In a collaboration or workflow scenario this is unlikely, but worth keeping in mind.
Step 1: Open your PDF with Adobe Acrobat DC. Unless you are opening a PDF that’s already in a managed review workflow, you won’t immediately see a toolbar of annotation tools. That’s okay — you just need to enable it. Look at the menu at the top of your screen and select Tools. Then select Comment. This will open up the Comment toolbar, which is what you will use to annotate.
Step 2: If you look at the Comment toolbar, you will see a number of different options to create notes. To make things simpler, you can just choose the far left option, the little text box. This will create a “sticky note” or an expandable note that you can place in the PDF. Click the Sticky Note icon, then click anywhere in the PDF where you want to place your Comment. Type in your full content, and then select Post.
Step 3: There are many other ways to create comments as well. You can see options for a number of text highlighting tools in the toolbar (all the icons with a “T” in them), which works for more specific types of editing. If you want to create an object, look on the right side of the toolbar and see the polygon icon, which allows you to create arrows, squares, circles, and so on as part of more complex editing tasks.
Step 4: Are you making a lot of annotations in the same PDF? Select an annotation tool from the Comment toolbar. Now, before you use it, look for the pin icon on the right. This is the Keep Tool Selected button. Choose it, and you will be able to use that Comment tool repeatedly without having to reselect it.
Annotating with Preview on Mac
The Preview app on Mac is probably the easiest way to annotate a PDF document quickly. It’s already preinstalled, completely free, and fairly easy to use. Here’s what to do:
Step 1: Go to the Preview app. Preview should be available in your Dock — it’s the icon that looks like a couple of photos under a magnifying lens. When you right-click on the Preview app, you will be able to see all the files you recently accessed with Preview, and select the one you want. If you’re dealing with a new PDF, just open that PDF, and it should open in Preview automatically (otherwise, right-click on the PDF to see more opening options and select Preview).
Step 2: You have several different kinds of annotation options to use in Preview. To get started with them, head to the menu at the top of your screen and select Tools, followed by Annotate. In Annotate menu, choose the top option that says Highlight Text. This should add the annotation toolbar to your Preview window, and give you the ability to highlight any text in the PDF. Highlight a section of text, then right-click your highlight to see the option to change the highlight colors or Add Note. Select Add Note to annotate that section.
Step 3: Adding notes to highlighted text is one of the most common ways to annotate. However, there are plenty of other options in Preview. Go back to Annotate and you will also see an option to create a Note there. This Note is a little block of color that expands into a full note that you can write. You can place this block anywhere on the PDF, which makes it great for more visual PDFs where you may want to talk about one specific area rather than a particular part of the text. If you look, you can also create Text boxes and Speech Bubbles with Annotate, which are similar objects with the same kind of advantages.
Step 4: Another popular type of annotation with PDFs is inserting your Signature. If you need to do this, head to Tools and Annotate, and look at the very bottom to see the Signature option. If you don’t have a preset Signature on your Mac, you will need to select Manage Signatures. This allows you to create a Signature with your mouse, on your touchpad, or by using your camera to upload a Signature. You can then insert your creation into a PDF as a text box.
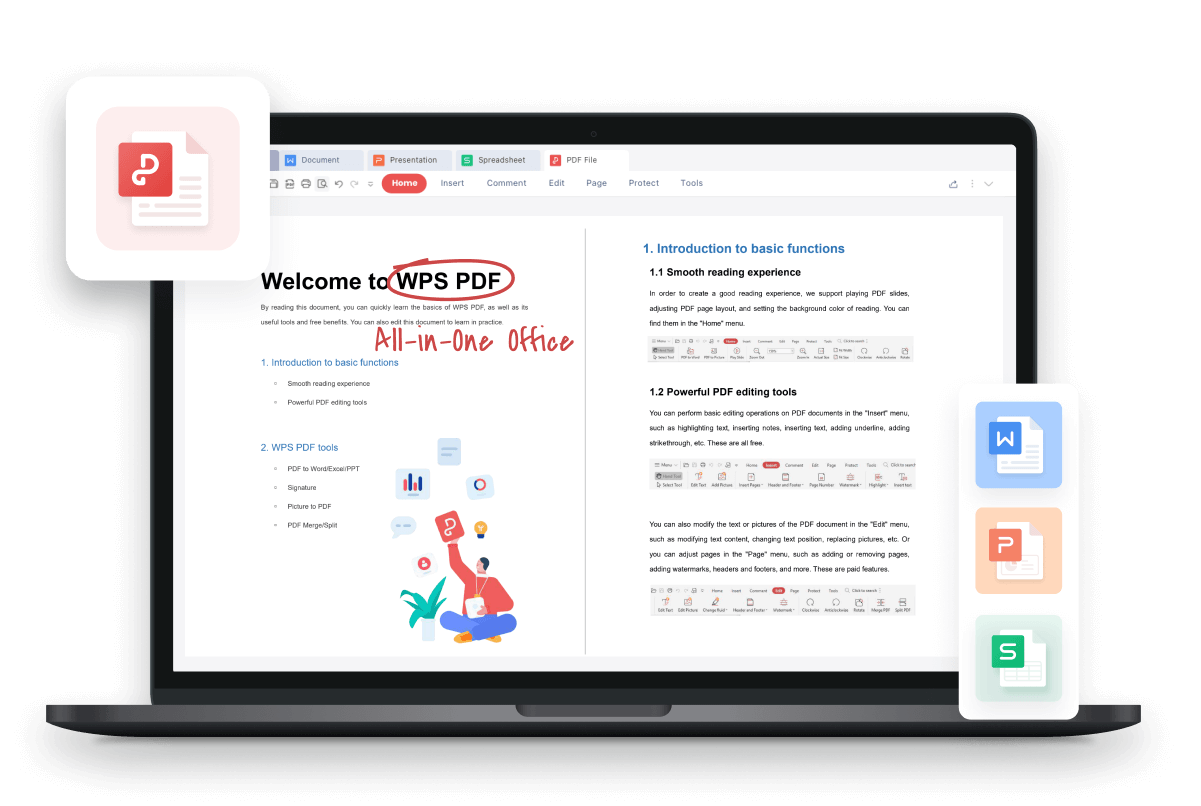
How to Add Annotations to PDF Files With WPS
When we read the information of certain PDF documents, sometimes we need to mark some important paragraphs or add corresponding comments to some content. Today I would like to introduce how to add annotations to PDF documents quickly.
Take this PDF document as an example. Click the Comment tab, and click the Note Mode button. At this time, a blank page appears on the right side of the document body.
We select the text that needs to be annotated, click the Highlight drop-down menu, and choose a color we like. At this time, the selected text will be highlighted, and a comment window will pop up on the right. We can enter the notes in the text box.

Click the button in the upper right corner, where we can reply to the notes, delete the notes, hide author and time, unfold all notes and fold all notes.
If we want to change the name of the annotator, we can right-click the comment window, click Properties, and select Regular, where we can enter the changed name and finally click Confirm.
We can also interact in the annotations, for example, to set the status of an annotation. Click Set status, then we can choose the appropriate annotation status.

When you click the Note Mode button again, the comment field on the right will be folded and hidden. Now, we can see the modification traces in the document. When the mouse is placed on the text that has been annotated, a corresponding annotation will appear.

When you want to hide all the annotations in the document quickly, you can click the Hide Annotations button. When you want to cancel the hidden annotations, click the Show Annotations button.
What a practical feature! With WPS PDF, you can read, take annotation, compress, convert PDF to jpg, highlight, search, process and edit pdf documents. Did you get it?
FAQS
How do PDF annotations work?
PDF annotation is adding suggestions in the form of comments or digital sticky notes to PDF documents in the proofing stage. Basically, PDF annotation refers to providing contextual feedback right inside deliverables in PDF format. Think eBooks, white papers, reports, etc.
Where is Annotate on Mac?
Go to the Tools Menu, choose Annotate, and select the tool of choice. 2. Go to the View Menu, select Show Annotations Toolbar. This toolbar will display at the bottom of your document.
Reasons to Use WPS Office:
Windows support WPS Office, Linux, Android, iOS and other platforms, xp, windows 7, windows 10 and other MAC systems are supported, either on the PC or cell phones, can provide users with a variety of document services. And it is an office software that supports online editing. Now go to the official website to download can also experience free membership features, receive 7 days membership access, free to use all the editing features inside. Master a variety of PDF document merging and conversion methods are very useful for later work, I believe it will also become the best assistant for your office.


