
There are many ways to avoid trying to print the form and scan it again with a photo. All you need is to get a and use a good PDF Editor to add an image to the file. The main and useful purpose of PDF Editor is that you don't need to get back to change the original file source, without any difficulty you can insert your photo into a PDF.
Many PDF editors offer to use online and offline services to use this feature. Many of them provided a facility to add images to PDF. Below the following Editors, you can get a guide and let you all know which tool is best for you.
How to Add Images to PDF Using Preview on Mac?
Adding Images in the document using Mac is a bit difficult. So, the first way to “add images to pdf” is by using the preview app on Mac.
Let's start with the following steps:
First of all, you have to begin with the opening of the preview app
After that launch the preview and then after navigating the “File” option.
Now, click on the “Open” button and open the PDF file.
Select the “Insert” button, from the “Edit” menu on the file page.
Select the image that you want to need in your PDF file.
You can also use the Ctrl+C and Ctrl+V to add images to PDF.
How to Add Images to PDF Using Adobe Acrobat Pro On Mac?
For using Adobe Acrobat on Mac devices you should have their paid version or paid subscription and if you do not yet have their paid version then get their free trial of the 7 days. Now onward, for using Adobe Acrobat you have to first launch and open the PDF file in which you have to add image to PDF.
After opening the PDF file, there is a tool menu that is on the top corner of the left side.
Select the Edit PDF, from the toolbar
This option allows you to add more text and photos to your PDF file.
Now, on the right side of the toolbar, click Add Picture. This will open a new dialogue box in which you can select the image to insert.
Choose the desired image and click the Open button. This inserts the image into the file.
Place the image where you want it. The image has been saved to the file. If you need to move the image, simply click and drag it to its new location.
Drag the image's corner handles to resize it. Click and drag the image corners in or out to make it larger or smaller.
You can also use these Images in editing tools that are present on the right-side panel. This gives you the new features of editing to flip, rotate, and crop your image.
You can also use the image-altering tools listed under Objects on the right-hand panel. This allows you to flip, rotate, and crop your image.

How to Add Images to PDF Using PDFelement On Mac?
Download PDFelement, then double-click the downloaded file to install it in your Program folder.
Start PDFelement, then click "Open File" to open the PDF file from your PC.
You may also select "File" from the menu.
Then, on the top gray bar, open it to add your files.
On the top toolbar, click the "Image" button, and then on the reviewed toolbar, click the "Add Image" icon.
Pick the image files from your computer and drag them to the location where you want to insert them. When you do this, the image will appear on the current PDF page.
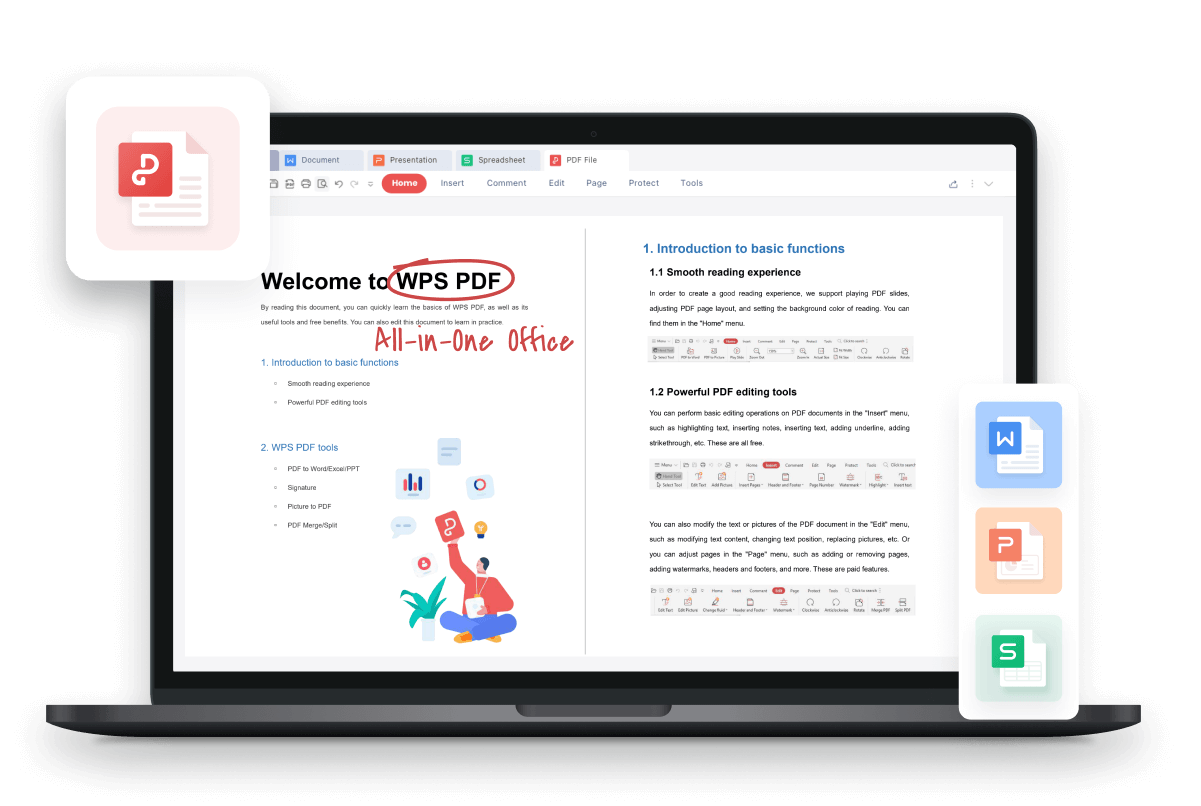
How to Add Images in PDF Using WPS Office On Mac?
First, you have to open and launch the WPS Office.
After opening the “WPS Office” editor tool, open the PDF.
Choose "add picture" from the toolbar that is present at the top of the menu. After clicking on the insert tab.
Next, navigate to the picture file you want to insert OR click on the image to drag and drop it to its proper location.
Click left and drag the image's corners to resize it.
To save the changes, use Ctrl+S or navigate to the file Save.
You can alter the transparency to make some objects visible behind this image. Simply choose the image, alter its transparency from the right toolbar, and select the appropriate percentage. Searching for another way to resolve your situation? Cropping, flipping, and rotating your image are all options.
WPS Office as a PDF Editor
Using this tool, you can directly edit PDF files, including adding text, photos, and pages. You may verify that the PDF file looks the same when you enter it into Word by making the appropriate adjustments to it.
WPS Office offers a variety of online and offline tools for inserting PDFs into Word documents. Users can insert a PDF file as a photo or link while keeping the formatting intact. Users can also subscribe to WPS Office's premium service, which includes enhanced tools for combining documents and directly editing PDFs. WPS Office makes it simple to insert a PDF into Word without changing the format, regardless of the content type. For more features, you can download it.


