
Guideline on How to Compress PDF in Indesign
PDF is one of the most useful tools in our daily life as it is easy to transfer, print, and manage and is compatible with all platforms. However, when you have a large PDF file, it will not only take up additional space but also influence the rate of transmission. WPS Premium brings you the way out, for that reason, if you are interested in learning how to compress PDF in InDesign using the WPS Office tool read the complete article, and let’s begin with the steps!
Steps to compress PDF in Indesign?
Visit the website
Firstly, you have to write the URL i.e https://www.wps.com/ on the search bar and go to the official website of WPS.

Download WPS Office
On the homepage, click on products and you will see many options to choose from. Click on download WPS Office.

Install WPS office
After downloading, install the WPS Office and launch it on your device.

Open the WPS Office
Once launched, open the WPS office. Now drag and drop the PDF file you want to compress or you can open it by clicking on “open PDF” and choosing from your device.

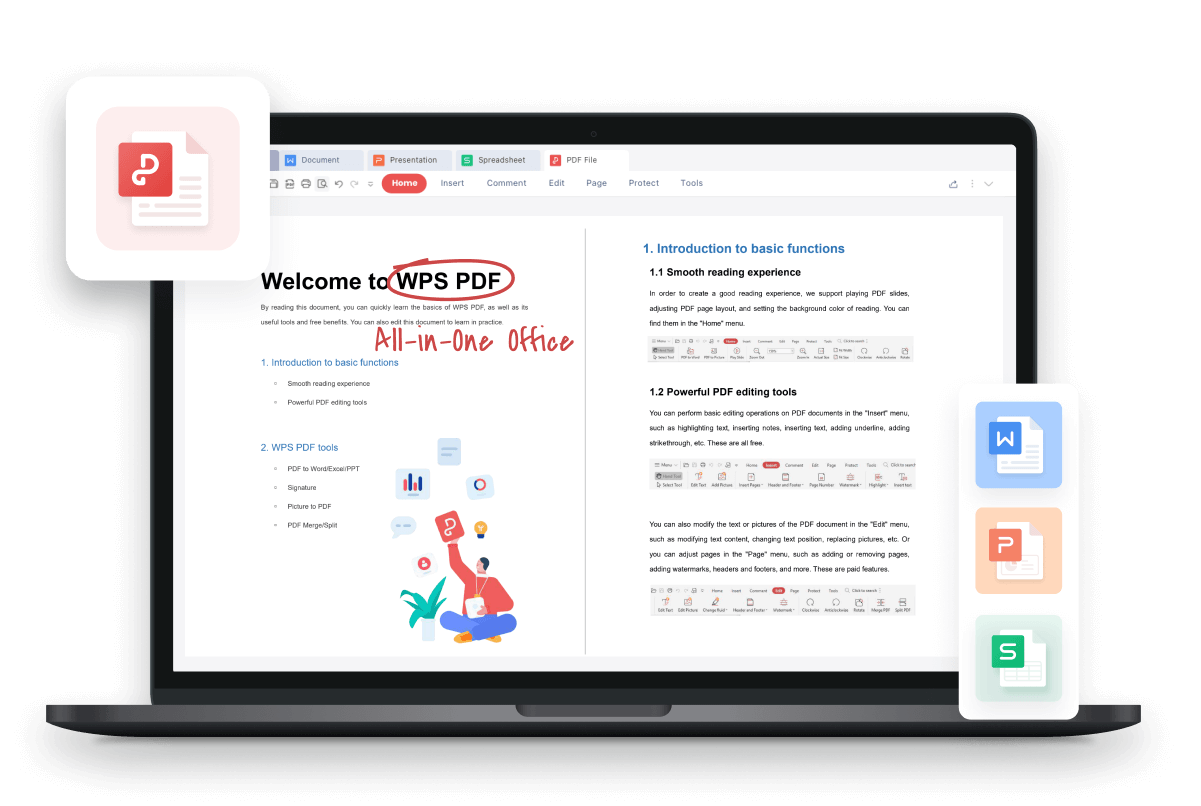
WPS Office homepage
On the homepage in WPS PDF, you will see many options like add text, insert pictures, crop page, split page, header and footer, background, attachment, and link in case you want to add a link in your PDF. Then on the insert page, you can add pages, page numbers, and a text box, you can also highlight a word or sentence.
Furthermore, in the toolbar you will see the comment, edit, page, protect, and most important tools in which you will see some options to convert your PFD document into word, PPT, or Excel, etc so basically all in all WPS Office gives you all the tools you need to get the best results in a document.

Tools tab
Now on the toolbar in WPS Office tool, click on the tools tab and you will see further options choose to compress.

Additional settings
A pop-up box will come into view and you can choose the compression level. The compression level will determine the quality of the compressed image. If you want high-resolution image quality you can select HD.
Change in file size
After the final changes in level, the pop-up window will show the change in file size before and after compression.
Storage location
By the end of the pop-up window, you can choose the location too where you want to store your compressed file.
Additional file compression
If you have more files, you can compress them by clicking on add file

Final compression
After all the settings, click on compress at the bottom and a green tick mark will show in front of the files confirming successful compression.
You have gone through all the steps on how to compress PDF in InDesign by using the WPS Office tool in just one click.

Conclusion
You see! In no time, you learned how to compress PDF in Indesign using the WPS Office tool and you are good to go! One of the best things about the WPS Office is that you can access it online and offline, although WPS online is recommended as it provide more features. Download WPS Office on your device and enjoy hassle-free working right away. Use this feature and let us know how it went!
Also Read:
- 1. Guideline on How to Change PDF to PNG
- 2. Smaller PDFs Size with Adobe Compress PDF Free and Pro: The Ultimate Guide
- 3. How to Compress Word to PDF Quickly
- 4. Guideline on How to Add PDF Printer
- 5. Guideline for How to Remove Permissions from PDF
- 6. How to Compress PDF on PC & Mobile (4 Easy Ways)
- 7. How to Compress PDF to 2MB or Less in 2 Best Online Ways
- 8. How to Compress PDF to a Chosen Size for Free
- 9. How to Import PDF to Excel-A Complete Guideline
- 10. A Complete Guideline on How to Import PDF to Excel


15 years of office industry experience, tech lover and copywriter. Follow me for product reviews, comparisons, and recommendations for new apps and software.