How to Fix Microsoft Print to PDF not Working on Windows
Print to PDF is a new amazing feature built-in Windows 10. Users can print their files, like JPG, or Word files, as a PDF files. Such a helpful tool! However, many users had complained that Microsoft Print to PDF not working on their Windows 10.
Luckily, we’ve got the answer to it. Here in this article, we will be showing you the top effective solutions to solve the problem. Please go on with the easy steps with the images below, you would get your print to PDF work again then.
Solution 1: Turn off Microsoft Print to PDF feature and turn it on again
Step 1
Type windows feature in the search box from the Start menu. Then click Turn Windows features on or off from the top result.

Step 2
Scroll down on the pop-up Windows features window. Find and clear the box of Microsoft Print to PDF. Then click OK to save settings.

Step 3
Reboot your Windows 10.
Step 4
Follow step 1 again to open Windows features window. This time find and tick on Microsoft Print to PDF to enable it. Then click OK to save changes.

Now your print to PDF should work properly.
Solution 2: Enable there are no comma in the file name you enter

If the file name of PDF you want to save contain commas, the file would be created with 0 bytes and you cannot find it at saving folder. As a result, it seems your Microsoft Print to PDF not working. In such case, please avoid use comma or any other specific notations in the file name.
Solution 3: Set Microsoft Print to PDF as default printer
Step 1
Type printer in the search box from Start menu. Then click Devices and Printers from the top result.

Step 2
Find and right-click on Microsoft Print to PDF under Printers dialog on Devices and Printers window. Then click Set as default printer.

Solution 4: Remove Microsoft Print to PDF and reinstall its driver
Step 1
Follow step 1 of Way three to open Devices and Printers window.
Step 2
Find and right-click on Microsoft Print to PDF under Printers dialog. Then click Remove device. Click Yes when asked to confirm.

Step 3
Right-click on the blank area on Devices and Printers window to choose Add devices and printers.

Step 4
Click The printer that I want isn’t listed.

Step 5
Tick on Add a local printer or network printer with manual settings. Then click Next.

Step 6
Choose PORTPROMPT: (Local Port) from the drop-down list under Use an existing port. Then click Next

Step 7
Set Manufacturer Microsoft and Printers be Microsoft Print to PDF. Click Next to go on.

Step 8
Tick on Replace the current driver. Then click Next.

Step 9
Click Next.

Step 10
You have restored the Microsoft Print to PDF. Click Finish to complete the process.
You can use it properly now.
Conclusion
If none of these methods work, you can always try updating your Windows 10 to the latest version or upgrading to Windows 11.
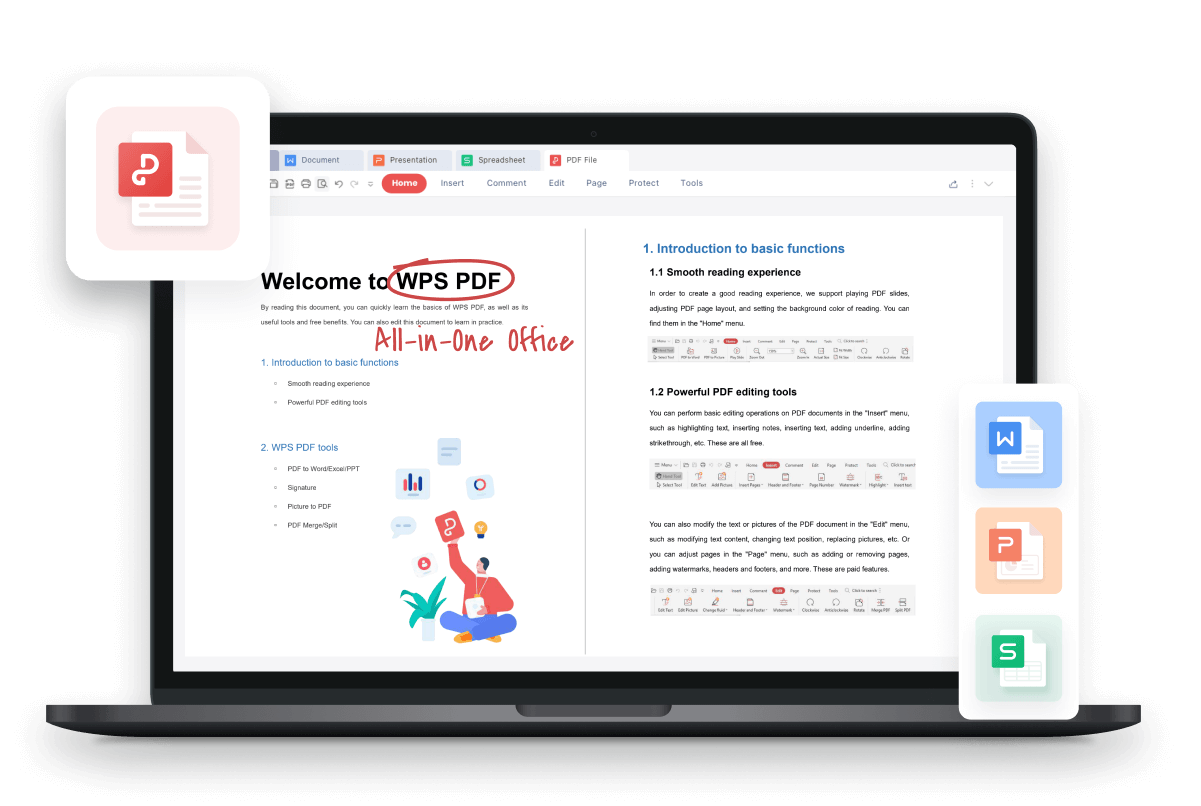
Alternatively, a simpler solution would be to install WPS Office and set that as your default printer. Since this is a PDF editor, the print function has the Print to PDF feature built into it. Additionally, you’d be getting access to a whole range of PDF tools for editing, annotations, security, file conversion, file size optimization, forms management, electronic/digital signature, batch process, OCR, and even integration with WPS Office Document Cloud in the Windows version of the latest WPS Office.
Also Read:
- 1. How to Add Print to PDF Easily on Windows
- 2. How to Print a PDF File with WPS Office
- 3. Foxit PDF Printer for Windows 10: A Must-have Print-to-PDF Application
- 4. How to Print a Booklet in PDF without Hassle: Users Guide!
- 5. How to Print Booklet in PDF
- 6. How to Print as PDF on Windows Step by Step
- 7. How to Print Multiple PDF Files At Once For Free | An Ultimate Guide
- 8. How to Print Darker PDF- Step-by-Step Process!
- 9. How to Print Current View in PDF
- 10. How to Print PDF Without Margins | Multiple Free PDF Editor Methods


15 years of office industry experience, tech lover and copywriter. Follow me for product reviews, comparisons, and recommendations for new apps and software.
